Holiday Dress 2017

For a while now, I haven’t been able to get the thought of a green velvet holiday dress out of my head.  I had one of those classic mid-90’s crushed velvet Christmas dresses when I was little, and it was my absolute favorite!  Welcome to the grown-up version of my favorite dress!  IMG_2506

I started by simply knowing I wanted a velvet dress, and found this one on pinterest to use as inspiration.  I knew the Charleston Dress from Hey June Handmade would be the perfect place to start, so I quickly snatched up the last 2 yards of green stretch velvet that Raspberry Creek had in stock right before black Friday (looks like they have a little back in stock right now!).

IMG_2465

Since I had never made View B before, I started by making a muslin to make sure the waist and hip locations were in the right spot (and they were, right from the start!).  I modified the muslin pattern pieces to have a boatneck in the front and a scoop in the back to begin with, but then adjusted them more by gradually by changing my muslin to give the affect I was looking for (i.e. scoop out only low enough that I can still wear a normal bra!).  I also made a swayback adjustment, altered the hip curve a bit, and added 3″ of length to the bottom of the skirt.

IMG_2500

IMG_2511

When I was happy with the muslin, I combined the bodice and skirt pattern pieces to remove the waist seam, and then I was ready to cut into my good fabric.

IMG_2487

IMG_2483

IMG_2488

When making the dress, I blatantly disregarded Adrianna’s very sound advice to use a sewing machine and went straight for the serger.  I would normally listen to every word of the instructions (there’s a reason that #adriannaisagenius is a real thing!), but my machine hates velvet, while my serger handles it with no issues.  Thankfully it worked out!

IMG_2494

IMG_2464

IMG_2497

Unfortunately the velvet didn’t behave as similarly to the ponte I used as a muslin fabric as I had hoped, and it turns out I probably could have sized down for the velvet.  I ended up taking in the side seams a bit in both the arms and body, which pushed my princess seams out a bit farther to the sides than if I had sized down, but I’m still calling this dress a win.

IMG_2476

I finished the neckline by using my stable ponte muslin fabric as a single fold bias tape (understitching and all!), and it holds the shape perfectly.

IMG_2478

I left an 8″ slit in the back.  I don’t need it for mobility because the fabric has plenty of stretch – I just like how it looks!

IMG_2486

IMG_2463

The belt was also a little DIY project – it’s literally just rhinestones hot glued to fold over elastic!  But hey – it works!

IMG_2466

I added some shoes from Payless (and some shapewear, of course!)  to complete the look!

I’ll leave you with my red carpet pose… on my front sidewalk… hiding from my neighbors by staying behind a tree. 😉

IMG_2503

Thanks for reading!!

Chalk & Notch Farrah

If you’ve followed me for any amount of time, you know that I love pattern testing.  The behind the scenes process of bringing a pattern designer’s vision to life is thrilling. Add to that a community of women testing together, supporting each other, and creating genuine friendships, and you get one of the most rewarding things I’ve found in the sewing world.

IMG_1144

That’s why I was so excited to be a part of the testing for Chalk & Notch‘s latest pattern, the Farrah!

IMG_1135

IMG_1124

An inevitable part of the pattern testing process, of course, is that as the pattern is made by and for numerous people with various body shapes and sizes, the pattern itself may get refined and changed in order to work well for everyone.  These changes are generally small, but make a big impact and, in the end, create a better pattern.

IMG_1156

IMG_1136

One of those changes for this pattern was the front ruffle on view b, the view that I made.  The ruffle changed a bit before my version, and again for the final version.  The ruffle you see on me here is a little shorter and straighter than the final.  It works for me and my (very) small bust, but the final version is so, so great and flattering for everyone who made it.  You can see a bunch of tester photos of the final version on Instagram; just search #farrahpattern to check it out!

IMG_1141

While you’re checking out those other pictures, you’ll notice that there is a second view with ruffled sleeves instead of the front ruffle, and that both views can be either blouse or dress length.  I’m usually not a super ruffle-y person, but I’m crushing hard on so many of the other view versions that I think I need to make one for myself very soon!

IMG_1146

IMG_1131 (1)

There are so many fun details on this pattern!  It was the first time I had made something with a gusset under the arm, and also the first time I had done a mitered hem.  Let me tell you, I’m a little obsessed with that hem!  It’s so clean and pretty!

IMG_1133

The pattern released yesterday, exclusively through UpCraft Club, and releases tomorrow on Chalk & Notch’s site and on Etsy.  It’s on sale – 25% off! – through next Monday.

IMG_1154

The fabric I used here is a rayon challis, which is quickly becoming one of my favorites, but as you can see, is also quick to wrinkle. 😉  I do love the drape, though, and the fact that it’s not polyester… so I think I’ll be sticking with it!

Thanks for reading!

Trevi Top and Dress

Hi friends!  Thanks for putting up with the long silences between my posts.  If you want to see more, check out my Instagram or Facebook page… I’m much better about posting on those!

But since I’m posting here, you might be guessing that Hey June is releasing a new pattern… and you would be right!  Take a look at the new Trevi Top and Dress!

IMG_1035

This woven top is perfect for the light and drapey fabrics you’ll want to be wearing all summer long.  This one is made from some royal blue rayon challis from fabric.com.

One of the things I love the most about Adrianna’s patterns is that she walks you through creating such a clean finish on the inside of the garment.  The end result is so beautiful and professional looking, with no raw edges anywhere.  With her patterns, I always know I’m creating a quality piece of clothing that I’ll be wearing with pride.

IMG_1050

IMG_1053

I’ve already started incorporating it into my work wardrobe, too!  Layered with a cardigan, this top is ideal for wearing to the office.

IMG_1059

IMG_1066

IMG_1069

And, of course, I couldn’t pass up the chance for a dress length version as well!  This rayon challis is from Joann Fabrics.

IMG_1080

I find that some of the lighter rayons can be a bit shear and might need to be layered over a cami, but the darker ones can be worn alone without a problem.  This dress is going to be my go-to summer dress.

IMG_1114

Thanks for reading!  Until next time… 😉


Sweater Weather

After all my Christmas sewing was over, I got into a bit of a funk.  I lost my “sew-jo,” as some of my fellow sewists put it… but I pulled right out of that funk the minute I got an email from the ever amazing Adrianna with a new pattern test opportunity!  Fabric was purchased during my lunch break the same day, and the pattern was printed and assembled that very night.  All this because I know when Hey June has a new pattern, it’s going to be a winner – something I’ll love and wear in constant rotation.

img_0556

This new pattern, the Tallinn Sweater, definitely didn’t disappoint.

img_0560

The asymmetrical front, the dropped shoulder, and the turtleneck make this more than just your basic sweater.  And… if you aren’t a turtleneck fan (or if your desired fabric doesn’t have quite as much stretch as the smaller turtleneck opening requires), there’s a cowl version as well.

img_0566

It’s also a really quick sew!  No hemming… my favorite.  🙂

img_0579

This fabric is from Joann Fabrics.  It’s pretty heavenly and perfect for this pattern, in my opinion!  I don’t see it listed online, but there are a few similar sweater knits there.

img_0586

img_0597

Once I started sewing again, you know I wasn’t able to stop… so I grabbed this fabric I’d had in my stash for a while and the Cocoon Cardigan pattern from Patterns for Pirates.

img_0602

I usually love me some pockets, but I skipped them on here because I didn’t have enough fabric.  Foregoing the pockets just meant that I was able to whip this up really quickly.

img_0613

And I mean quick like put the kids to bed, cut your fabric, sew, and have a new cardigan before you start to feel that [admittedly large] glass of wine quick. 😉

img_0626

I have another cardigan in the works… if you follow me on instagram you’ve seen a sneak peek or two… but to be honest it’s been a series of unfortunate events with that one, so who knows when or if it will see the light of day.  All my fingers and toes are crossed that I can still salvage it.  Leave me a comment with some encouraging words, because I sure need them for this project!

img_0627

Thanks for reading!

* There are a number of links in this post, but none of them are affiliate links… they’re just there to help you get to anything you want to see a little quicker.  😉

Handmade Christmas, 2016 Edition

Okay, guys… buckle up, because this post is a long one.  I may have gone a LITTLE CRAZY with the handmade gift giving this year.  All but one were done in time for Christmas, and all it took was staying up until 11 or 12 every night in December! 🙂

First up on my list: Christmas pj’s for Ella and Luke.  Luke was desperately in need of more winter pj’s anyway, so I made some trial versions for him before cutting into my Christmas fabric.  I started with the Bonne Nuit winter pajamas pattern, which I had gotten with my subscription to the Sew What Club about a year ago.  I loved that the pants were made of 3 main pieces instead of two, so they have that cute wedge shape over those kid bottoms.

img_8237

I wasn’t too thrilled with that pattern, though – the sleeves were too tight and the body too loose on Luke, and the pants were too long and legs too tight.  He still wears this pair, but it’s a bit of a struggle to get his arms and legs in.  I picked up this fabric from Fields Fabric in Michigan when I was out there this past fall.

For the second pair I swapped out the shirt for a Pistachio Tee, hacked to add bands on the sleeves.  This shirt was a perfect fit for Luke, which is what I have come to expect when using a Sew Like My Mom pattern.  I used the same pants pattern as the first time, but widened the legs.

img_8537

These fit him well, but the legs were still pretty long.  The fabric was from Raspberry Creek, and it’s much softer and stretchier than the first pair.

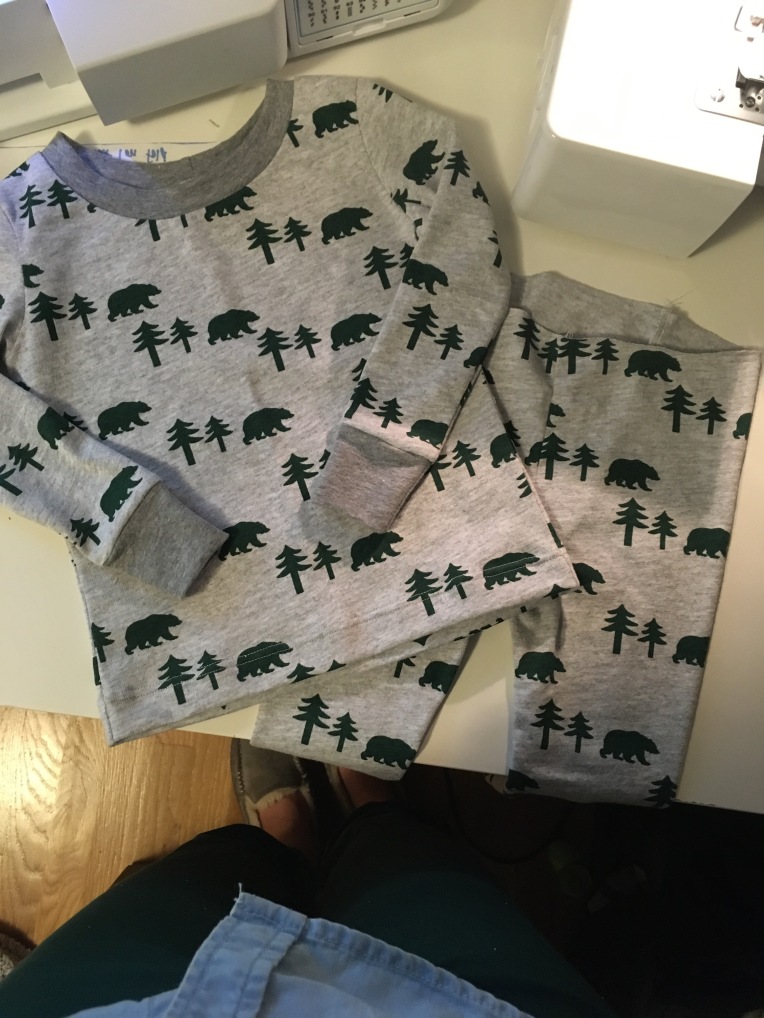
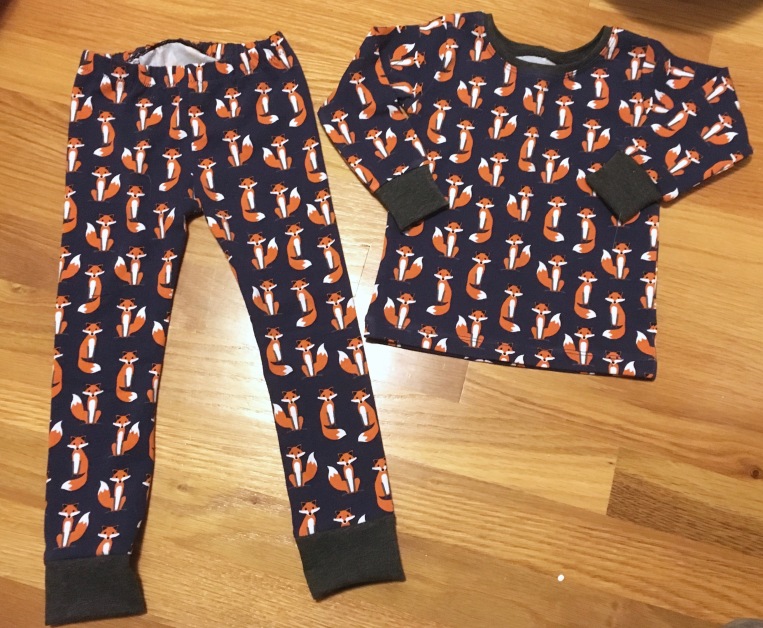
For the final pair, I took an inch (maybe two? I don’t remember) off the length in addition to the wider legs, and these fit him perfectly!  I used a Pistachio Tee and a widened leg  Bonne Nuit pants for Ella’s pj’s as well, and I love how they turned out.  This fabric was from Raspberry Creek as well.

img_8710

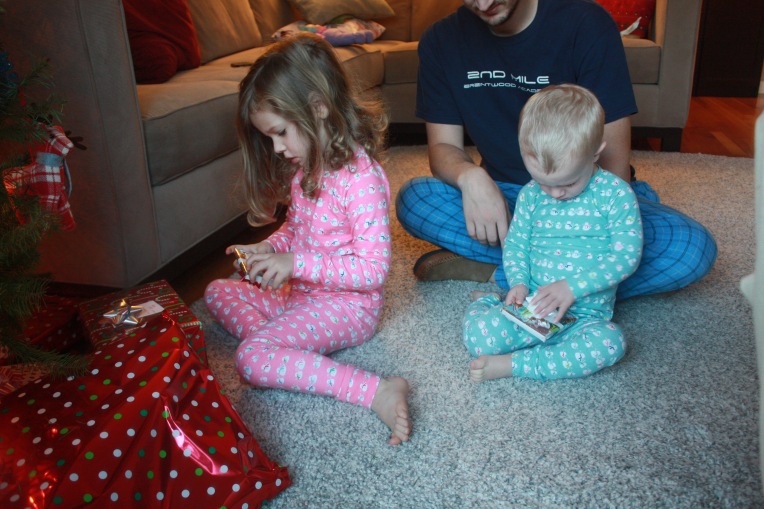
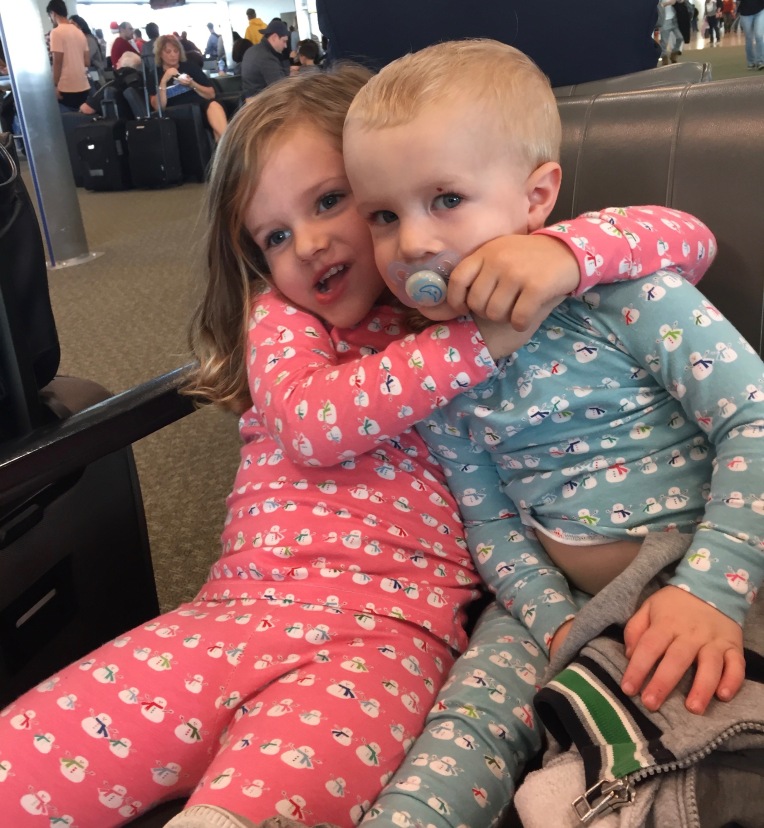
They wore them for our own gift opening on Christmas Eve morning, and then, since we had to get the kids out of bed around 3am for our flight the day after Christmas, they wore them all the way from California to Michigan.  🙂

img_0508

img_6027

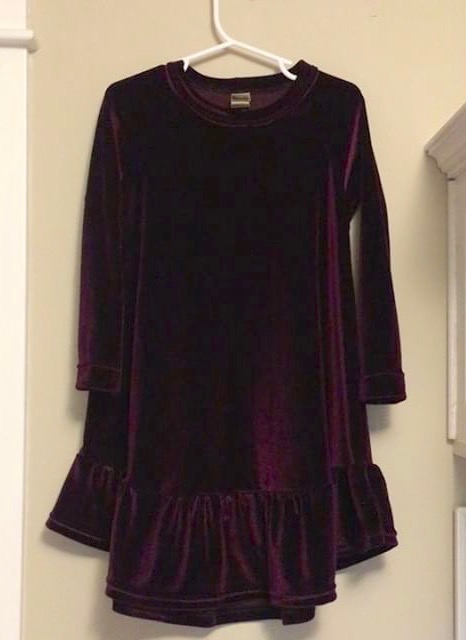
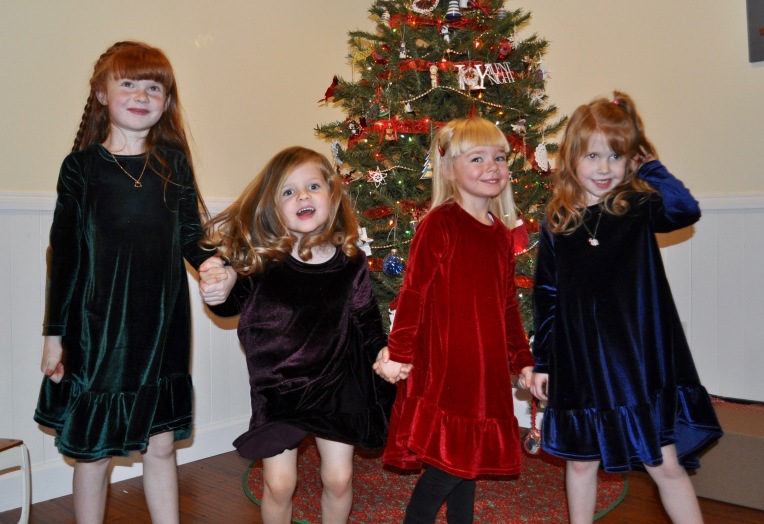
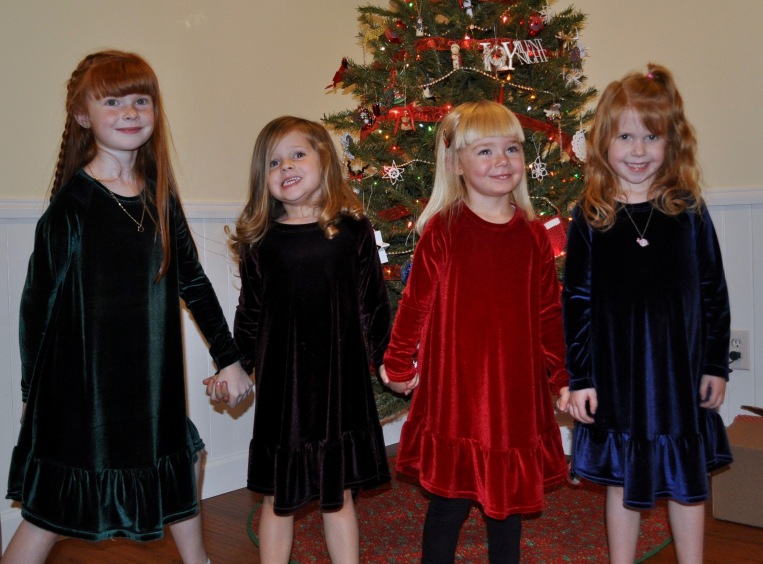
The next project was Ella’s Christmas dress.  I used the Waterfall Raglan pattern from Chalk & Notch, and a plum colored stretch velvet from Fabric.com.  I LOVE this dress on her, and she loves it too – in fact, she just wore it again for most of the day yesterday.

img_8269

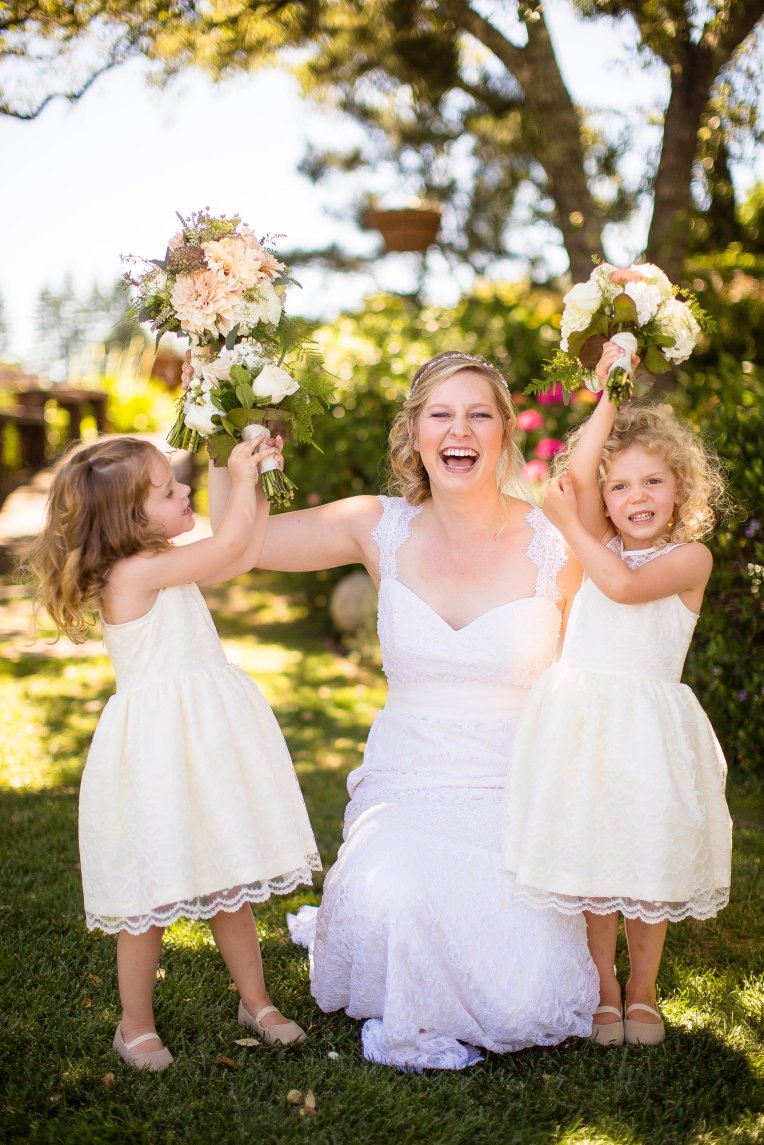
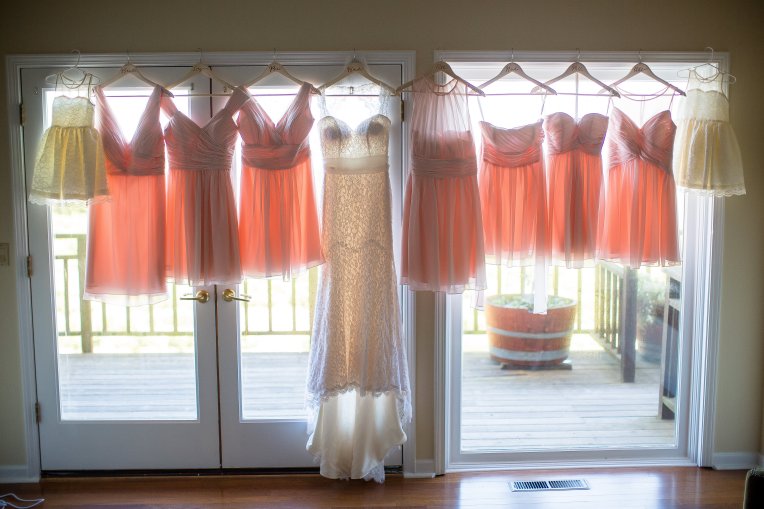
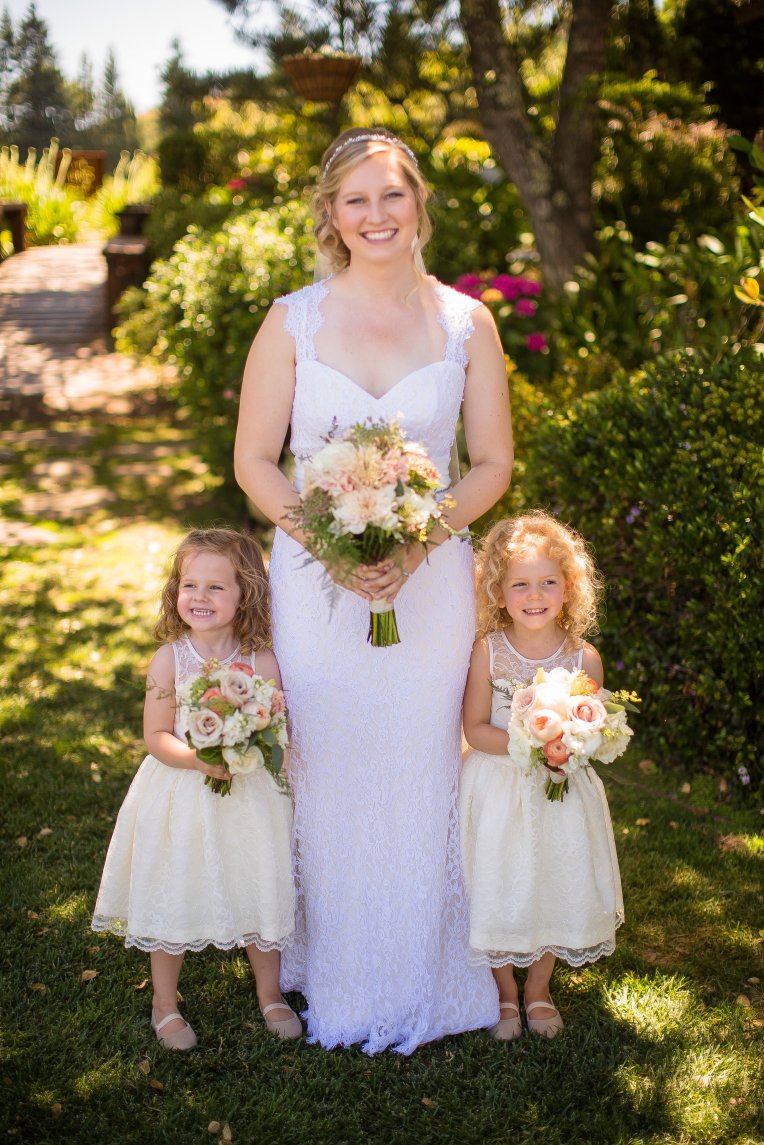
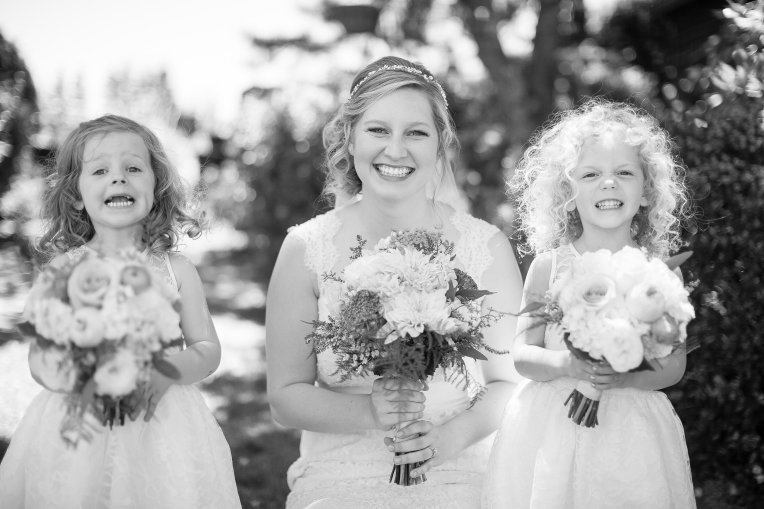
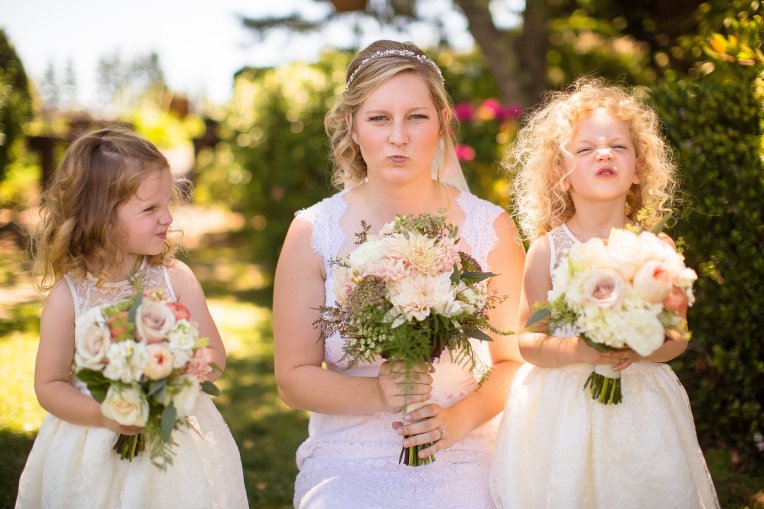
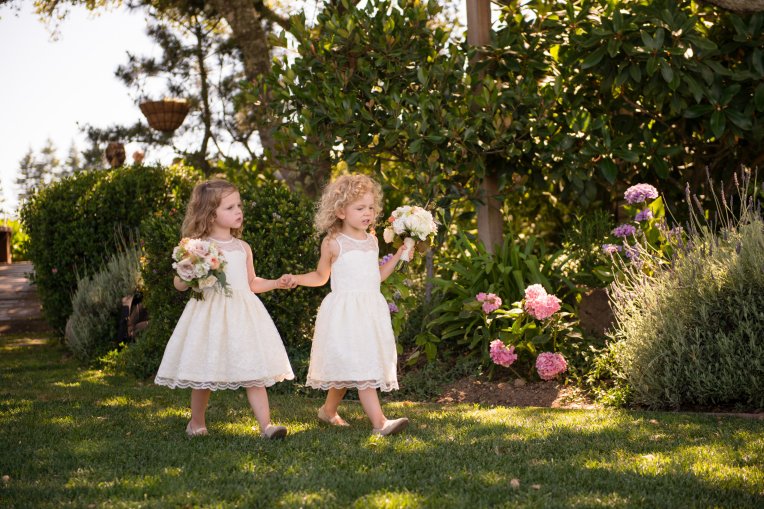
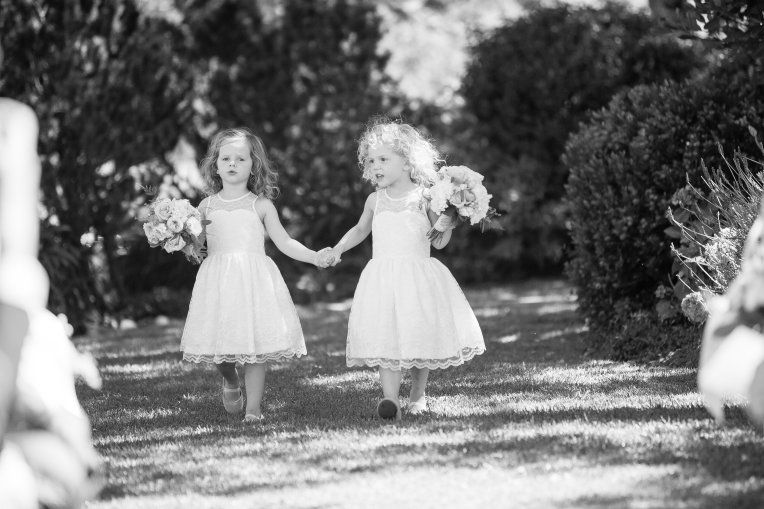
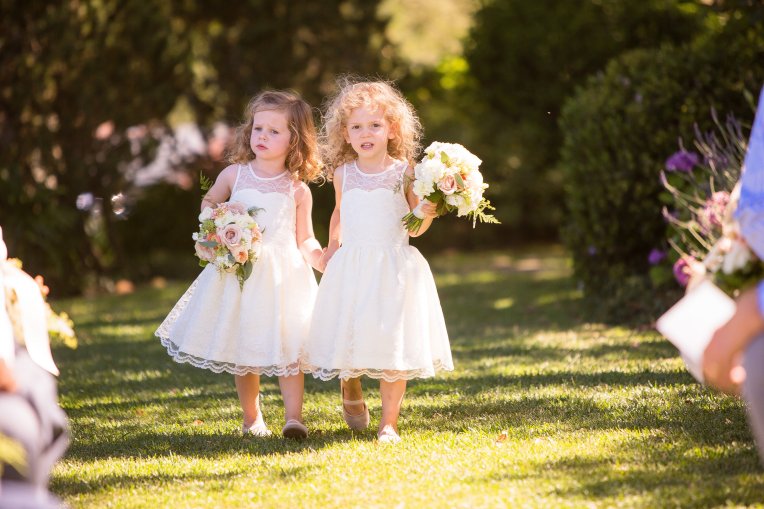
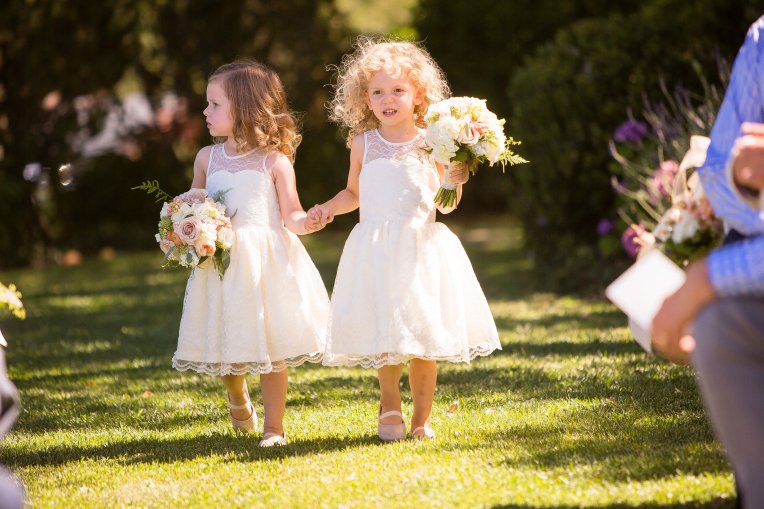
Once I made this one, I knew I wanted to make more… so I made four more, one for each of my nieces.  I didn’t get a picture of my niece Annalise in her red velvet dress (you may remember her as the other flower girl in the post on those dresses), but we were able to get all the nieces on my side of the family to pose in their dresses!

img_8996

img_8997

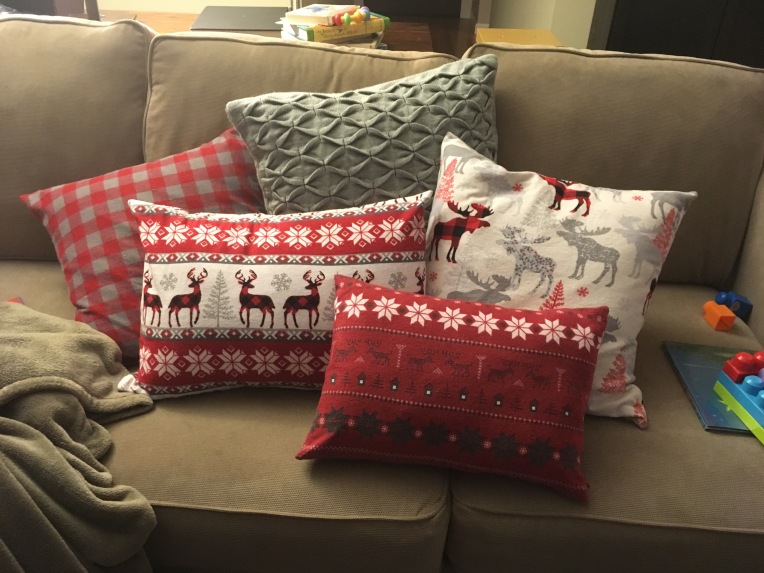
In the midst of this, Tim’s sister wanted to make some Christmas pillows for her living room, and once I started making pillows with her, I definitely needed some for me too…

img_8539

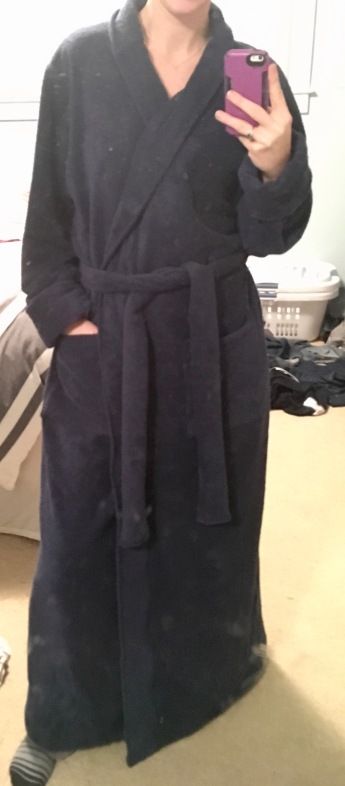
Tim’s mom had requested a bathrobe, but the fabric I ordered didn’t arrive until until two days before Christmas, so I made it after… here’s a really bad late-night pic of me modeling it in my super dirty mirror… sorry!  I used the Riverside Robe pattern by Peek-a-boo Patterns in a navy terry cloth, and lengthened to floor length per her request.

img_9252

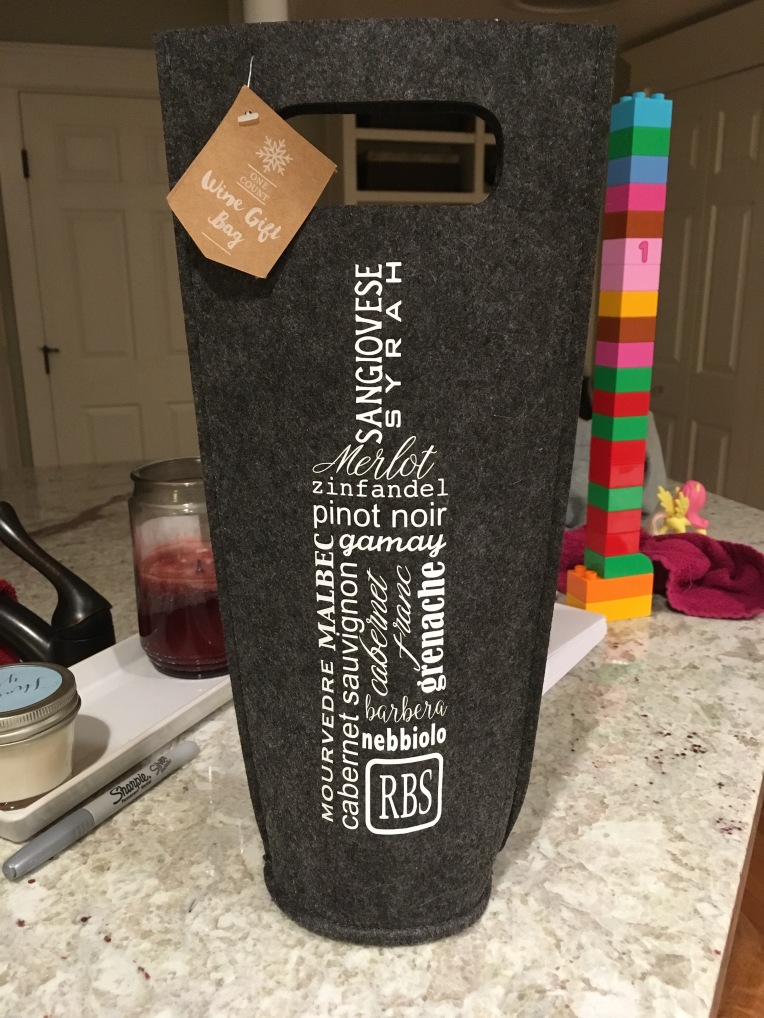
For Tim’s dad, I picked up a wine bag from Target and added a design I made on my Silhouette Cameo using heat transfer vinyl (HTV).

img_8506

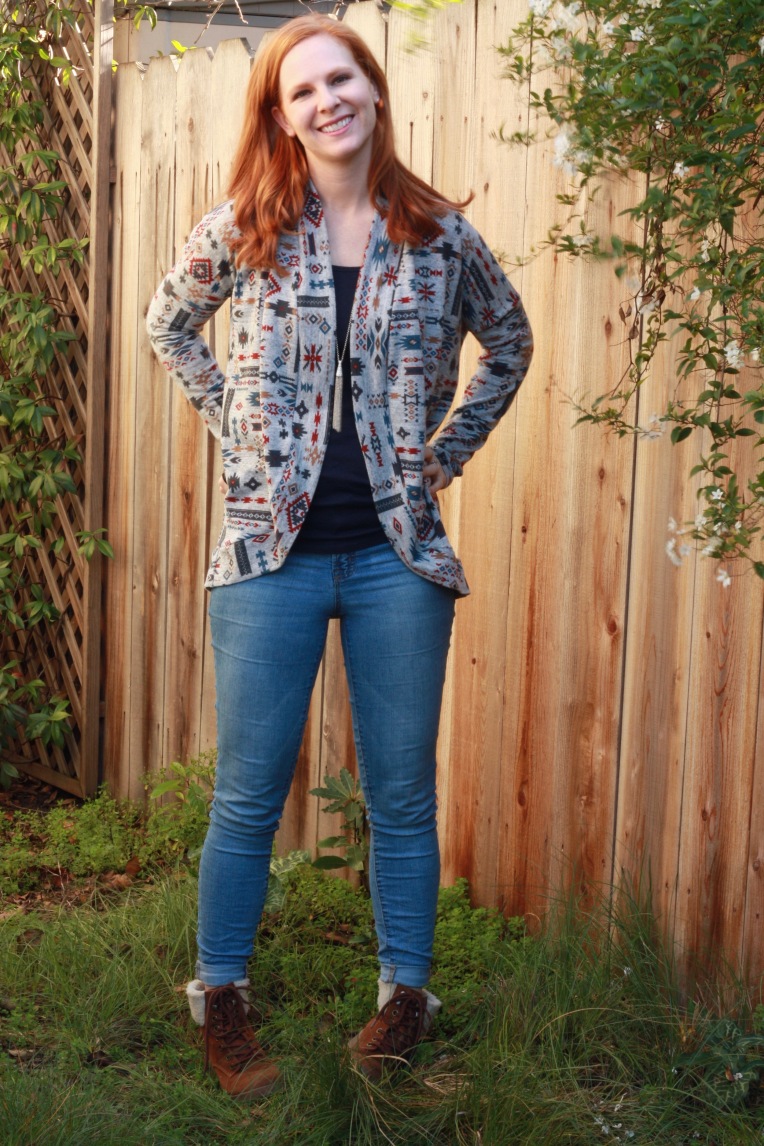
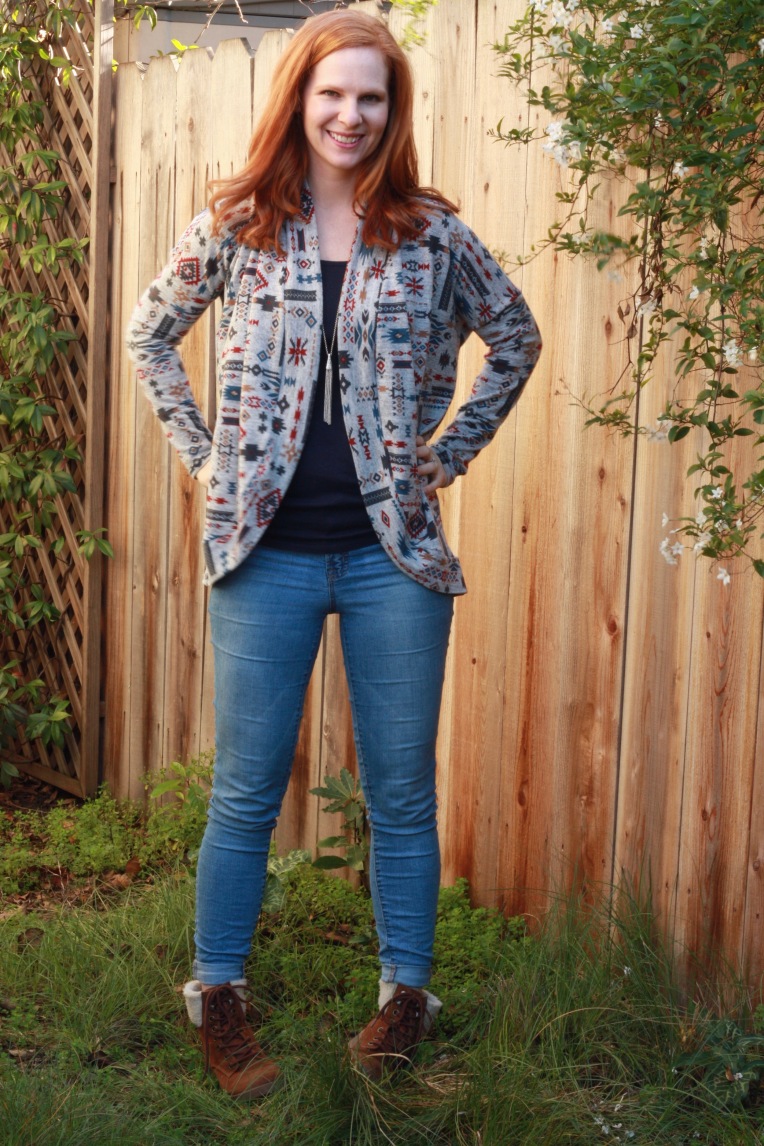
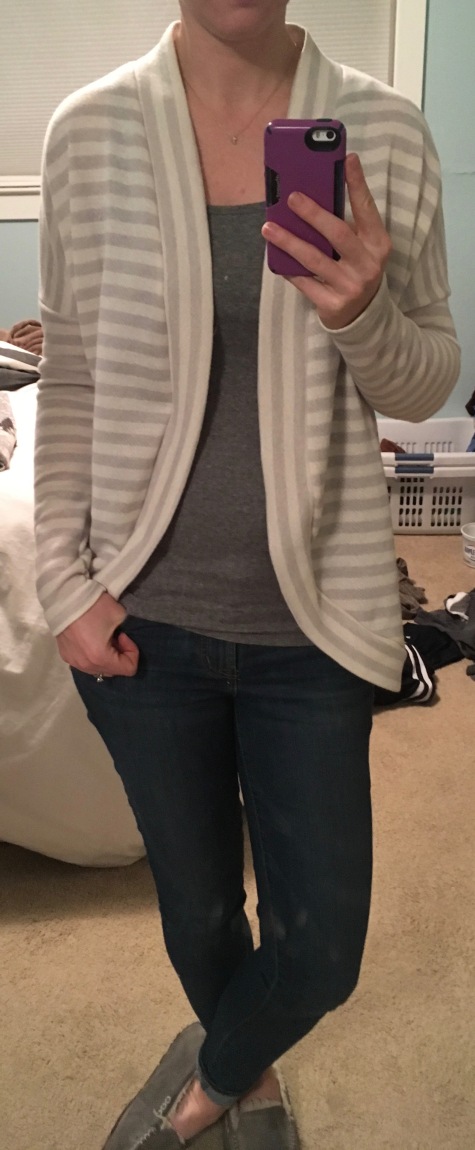
For my sister-in-law Abbie, I made a Cocoon Cardigan from Patterns for Pirates in a striped french terry from Raspberry Creek.  She’s expecting a little boy in March, so a cardigan was a safe bet as to what would work for her right now.  Here’s another dirty mirror shot of that one…

img_8778

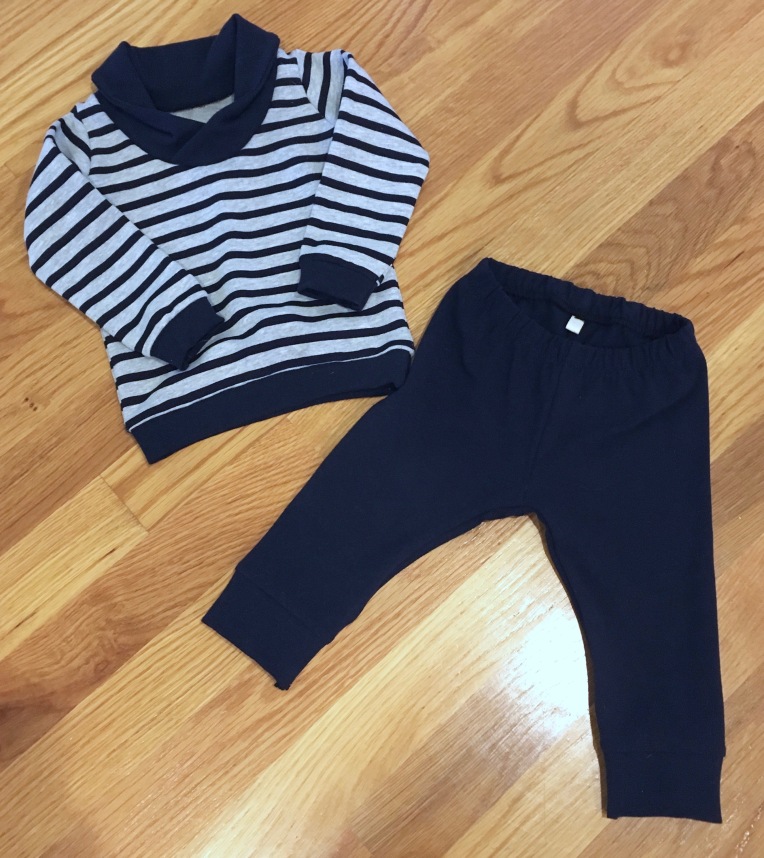
For the new baby she’s expecting, I made a Bimaa sweater and some modified Baby Go-To Leggings (widened and cuffs added to look more like joggers).  The fabric is all from (surprise!) Raspberry Creek.

img_8805

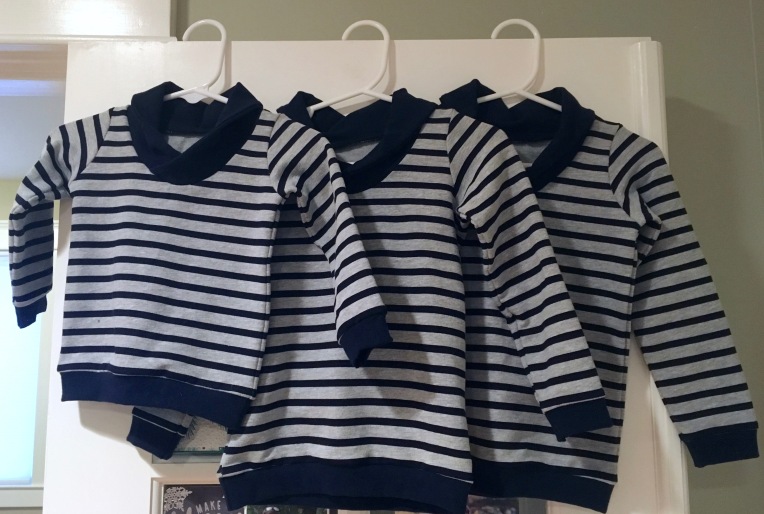
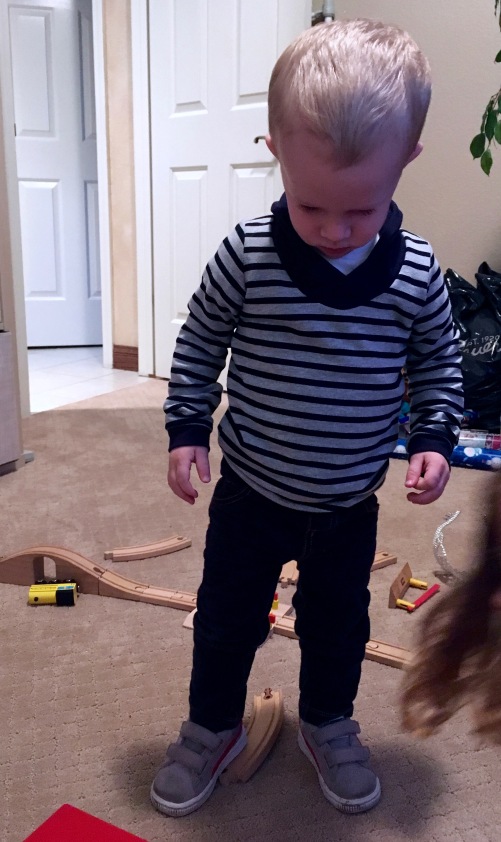
I then also “needed” to make a Bimaa for Luke and one for my nephew Ezra, who is basically the same size as Luke…

img_8789

img_8815

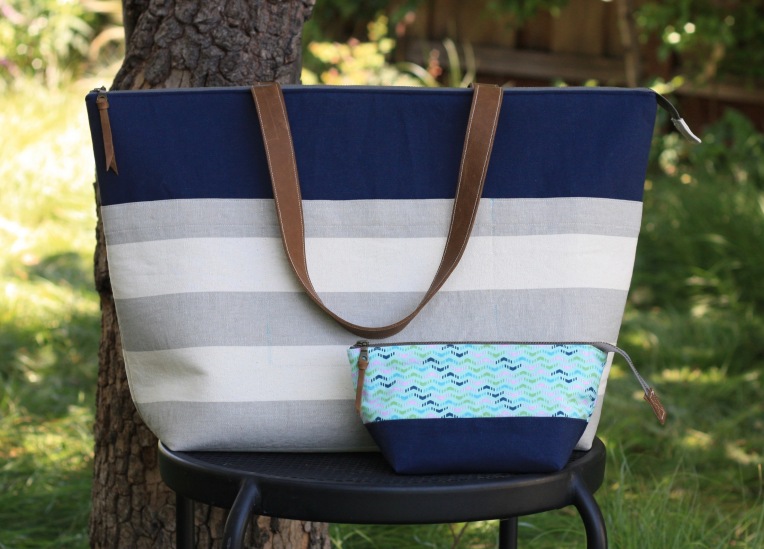
For Tim’s sister Megan, I made some Sloan leggings in a super soft brushed poly from Raspberry Creek, but I apparently didn’t take a picture of them… so you’ll just have to trust me that they’re great and I will be making more of them in the future!  I also made her a fold-over clutch using the LBG Studio pattern.

img_8770

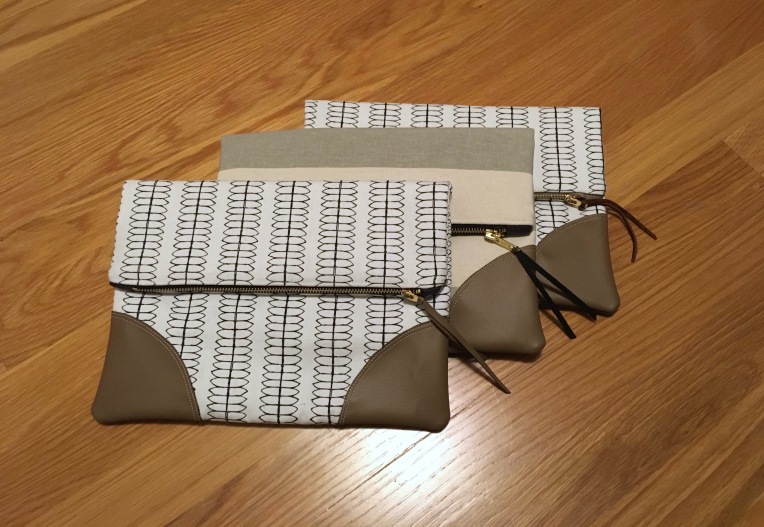
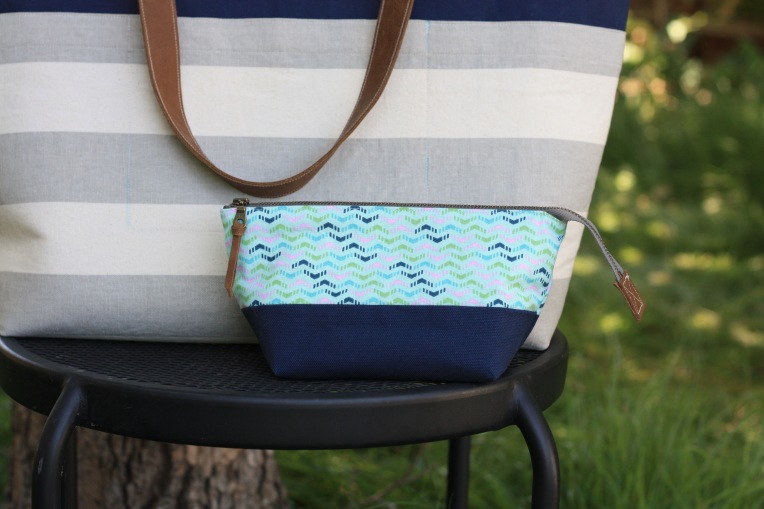
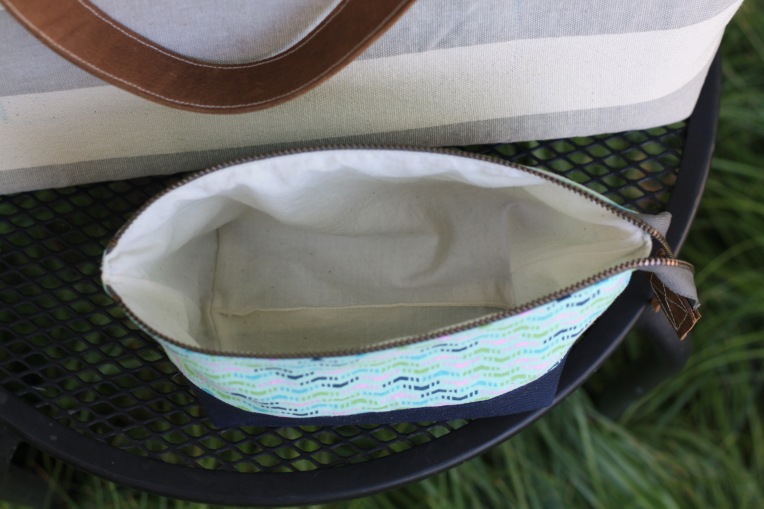
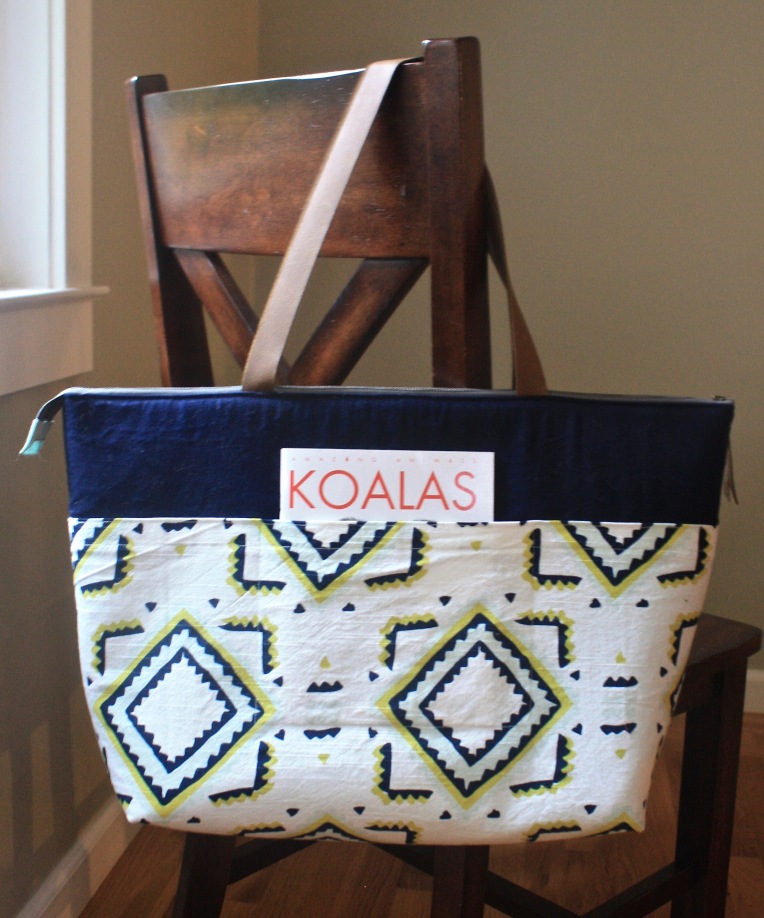
The top and bottom bags here are for Megan and my sister Katie.  The middle one is a little Christmas gift I made for myself.  🙂  These fabric for their clutches is from Joann, the fabric on mine is from Hobby Lobby (I also used it for this bag), and the “leather” accents are from a piece I picked up at FabMo.

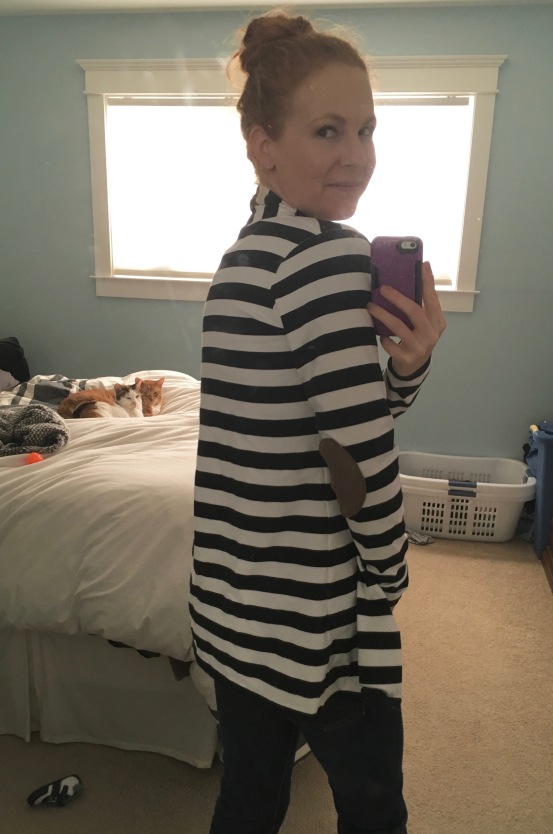
Katie had sent me a pin of a black and white striped cardigan with elbow patches a while back, so guess what she got for Christmas!  🙂  <insert dirty mirror disclaimer once again… don’t look at the smudges… look at those cute, cuddly kitties on the bed!>  I used the Patterns for Pirates Grandpa Cardi, but doubled the width and rotated the grainline direction of the regular collar to mimic the pin Katie had sent me.  The fabric is from an Etsy shop that will remain un-named, since I had a really bad customer service experience.  It was my first and last purchase from them.

img_8724

img_8722

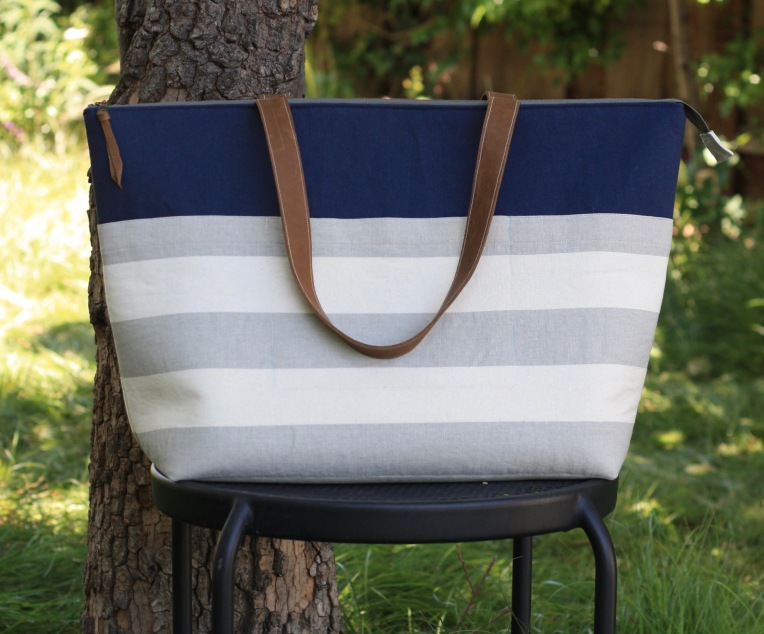
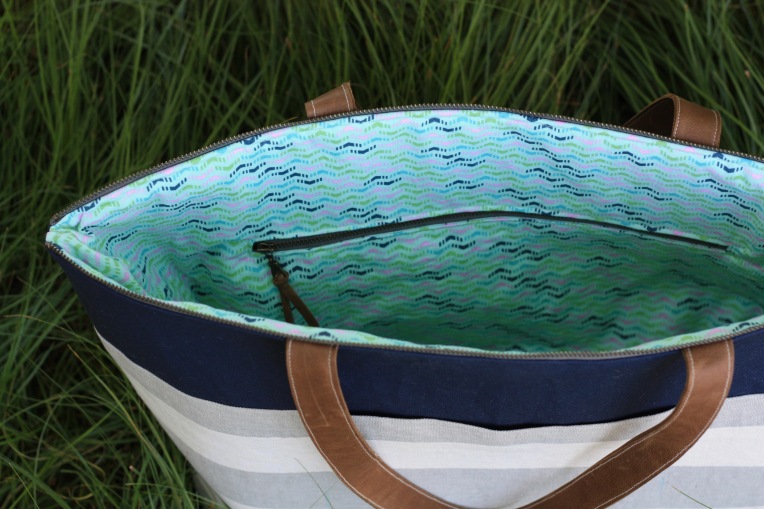
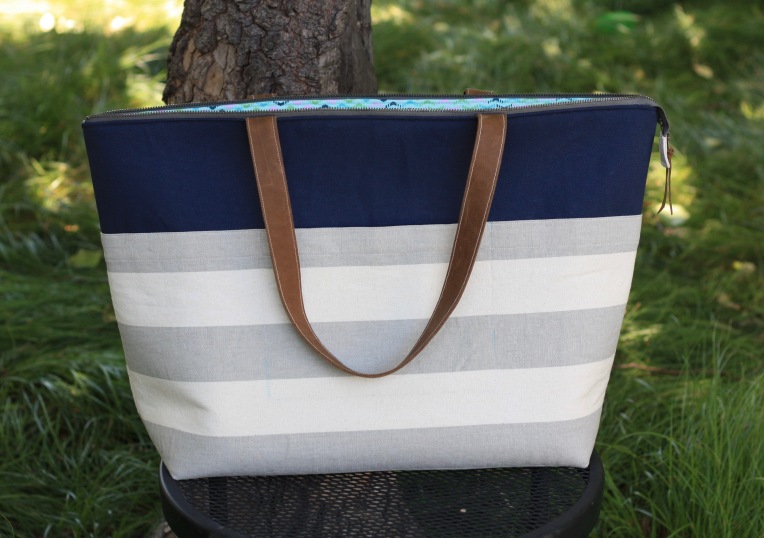
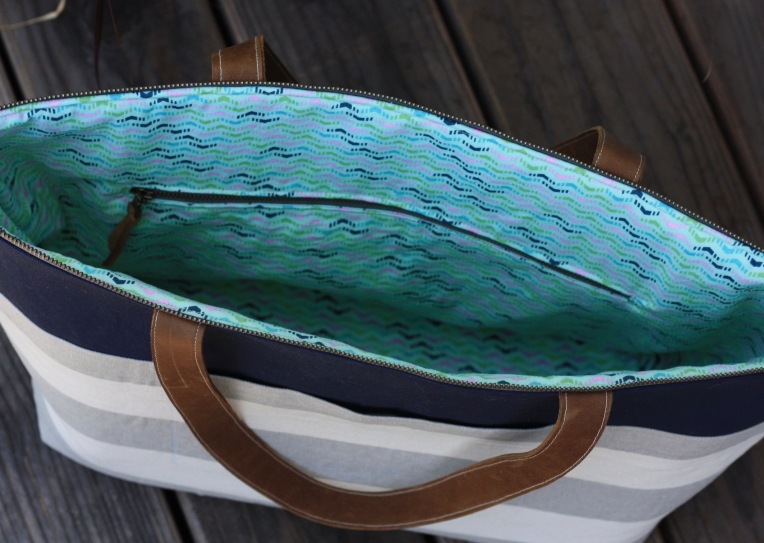
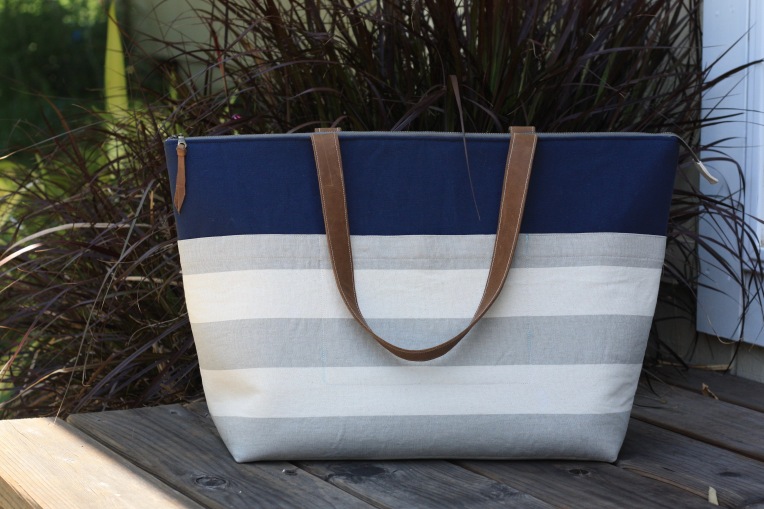
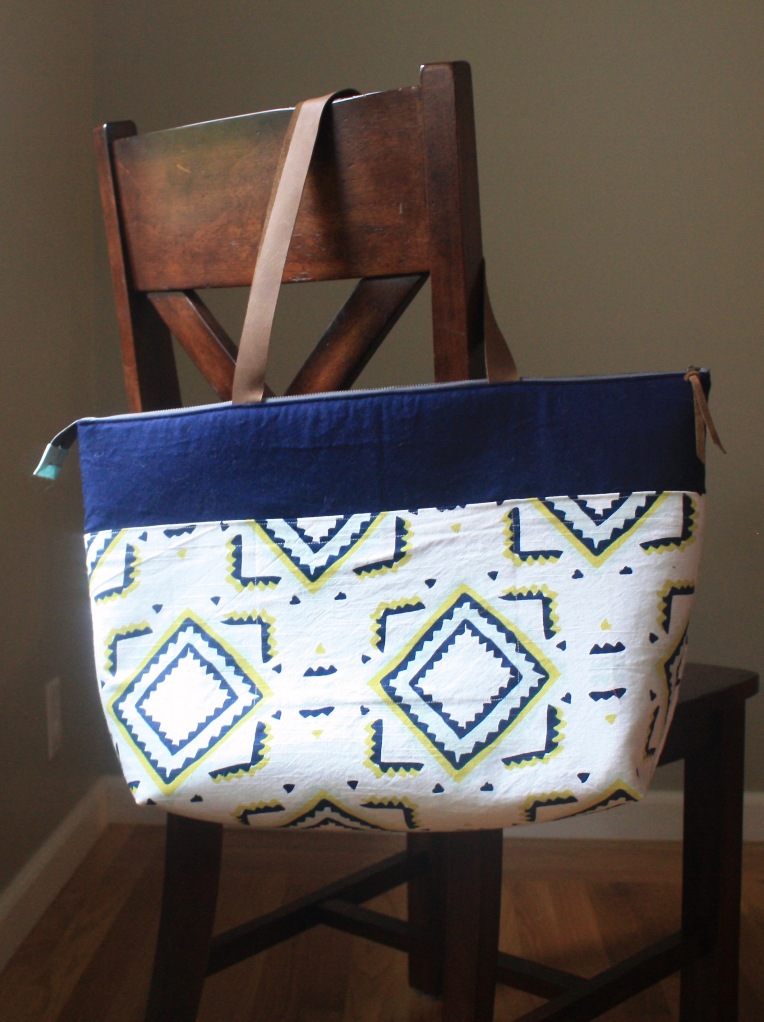
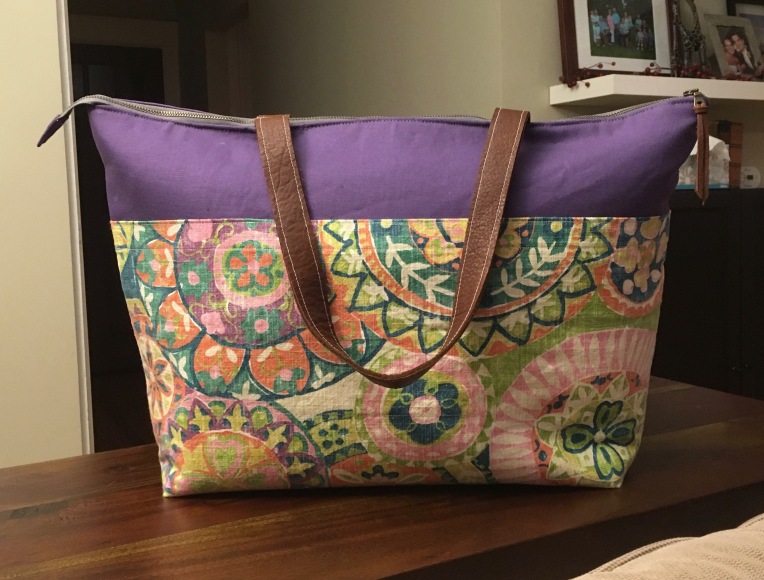
For my sister-in-law Sheryl, I made a Zip Top Tote from Noodlehead’s Handmade Style book.  I use mine literally every day as my carry-all for my kids’ stuff.  Since Sheryl has twice as many kids as I do, I figured she might be able to use one of these amazing bags as well!  The floral fabric is one I’ve had in my stash for a while from Fabric.com, and the purple is from Joann.  The leather (real leather this time!) is from FabMo.

img_8702

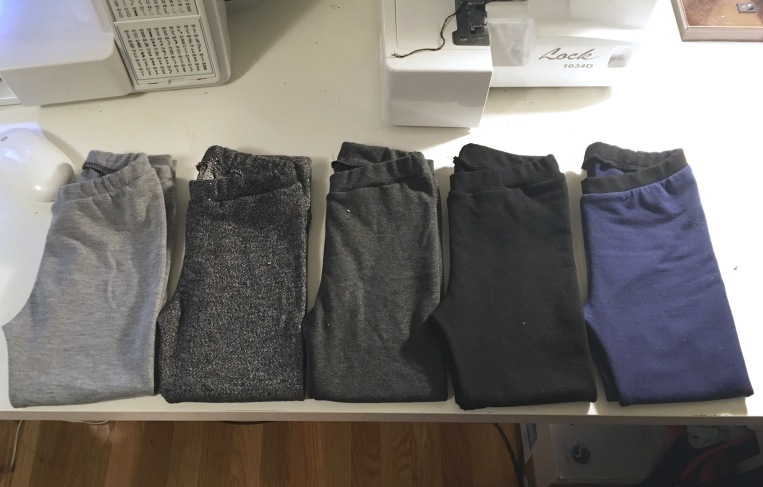
Somewhere in the middle of all of this, I realized that Luke was constantly running out of clean pants, so I spent one night making him 5 new pairs of Boxwood Joggers.  The fit of these is perfect for Luke.  For the sake of time, I combined the pattern pieces to have just one piece for each leg of the pants.  It made these super quick, but I love the added detail of the triangular piece so much that I don’t think I’ll take it out again.  Also, I was out of the correct size of elastic for the waistband, so these have a narrower waistband than is typical of the pattern.  These are all made from Raspberry Creek french terry.

img_8803

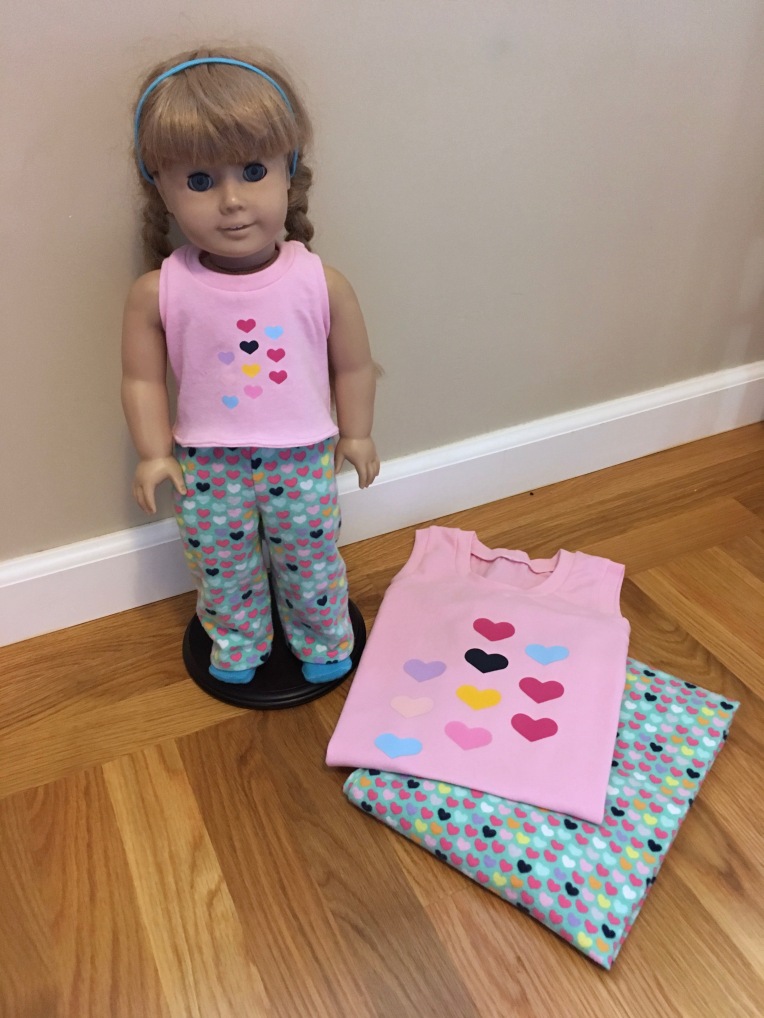
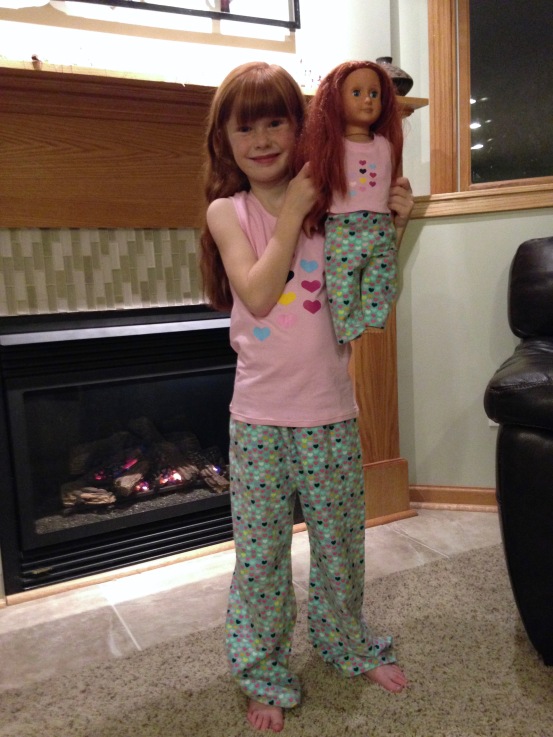
The last gift I’m sharing is one of the first I made – I think it was right after Thanksgiving.  All of the nieces on my side of the family have an “Our Generation” doll that looks like them, and it’s fun to have matching outfits with your doll, right?  Lexi thinks so!  She and “Kendra” got matching pj’s.  Lexi’s top is a Coconut Summer PJs top, and her pants are the Perfect PJ Pants, which I found as a free pattern on Craftsy.  Kendra’s top is self drafted (using Megan’s old Kirsten American Girl doll as a model), and has a velcro closure on the back.   Her pants are the Night Before PJ Pants by Cole’s Corner and Creations.  I added some HTV hearts to both shirts to make it coordinate even more. 🙂

img_8708

img_9029

Oh, and one more thing I forgot to photograph… I also made 8 infinity scarves and gave away 7 of them to various family members, keeping one for myself.  🙂

And I did make my mother-in-law some of those “if you can read this, bring me a glass of wine” socks that were so popular this year, just adding HTV to some warms socks I purchased…

And I helped Megan make pajama pants for her and her husband with the free 5 out of 4 pajama pants pattern… and… I think that’s it?  It was all a bit of a blur, but it was fun and I actually really looked forward to my sewing time each evening.

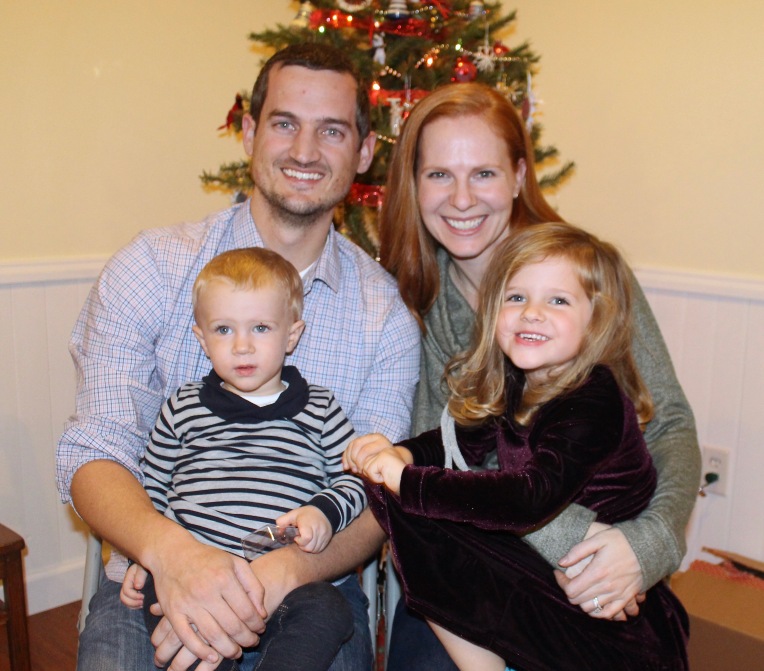
I hope you all had wonderful holidays!  Here’s my little family, 3/4 of which are wearing handmades… sorry, Tim!  Maybe next Christmas. 😉

img_9034

Whew!  If you made it this far, congratulations!

Thanks for reading!


Sewing Tool Recommendations

Hi guys!  Just a quick post today, and this one contains affiliate links, so if you purchase after clicking through here, I’ll get a little extra fabric spending money. 😉 😉

I’ve been asked a bunch of times for a sewing machine recommendation, so I decided to just put it here so that it’s easy to refer to.  The machine I recommend is this Brother CS6000i.  It’s great for beginners or for someone looking to get back into sewing who doesn’t want to spend a fortune on a new machine.  I don’t have this exact model (mine is a similar Brother machine), but this is the one I encouraged my mom to buy a couple of summers ago and therefore the one I use when I’m visiting her (because who can stop sewing for 2 whole weeks?  Impossible).

I recommend this one because it comes with so many extras, including a walking foot (great for sewing knits or quilting things with layers).  I may have stolen the walking foot that came with my mom’s machine, since my machine didn’t come with one… thanks, Mom!  It also comes with a hardcover case, which is great for protecting the machine if you want to store it in a closet.

sewing-machine-pic

Also, just throwing this out there in case anyone wants to start sewing with knit fabric more… a serger changed my life in that department.  I got this Brother 1034D serger about a year ago, and I have zero complaints.  There are definitely models that have more bells and whistles, but this one is a workhorse and I love it.

serger-pic

And, since Christmas is coming, here are a few things I own that I use all the time… just in case you were looking for things to ask for. 🙂

  1. Rotary cutter and mat: I have this cutter and this mat.  But this smaller cutter is on my wish list for Christmas this year!  Smaller cutters are better for cutting curves.  If you do a lot of straight lines, a clear ruler is nice.  I have this one.
  2. Magnetic pin cushion:  I have this one and love it!
  3. Retractable tape measure:  I have this one.  No more winding up my tape measure every time I use it… or every time one of the kids uses it as a cat toy… sigh…
  4. My Gingher scissors… these things cut like a dream, folks.
  5. These wonder clips… amazing.  I use them instead of pins when I’m serging to make sure that I don’t accidentally serge a pin and kill my serger blade.  They’re also great for holding thick layers together.

I have a bunch of other things, too, but these are the ones I use for almost every project, and the ones that I always like to have close by while I’m working.  I hope this is helpful for some of you!

Thanks for reading!

Flower Girl Dresses

View More: http://wordenphotography.pass.us/finished-wedding-photos

You may remember a post from a long time ago where I showed you my trial run of the flower girl dresses for my sister in law’s wedding… well, now I’m here to show you the real deal!

We were super busy the day of the wedding, of course, so I can’t take credit for any of these photos.  These are all from the wedding photographer (Worden Photography), and used with permission.  🙂

First of all, this was hands-down the most beautiful wedding I’ve ever been to, and yes, I’m definitely including my own in there.  I mean, my wedding is definitely still my favorite, but mostly because of the result where I end up spending my life with THE best guy ever. 😉  This wedding was so beautiful that you’re required to pronounce every syllable of the word.  Yup, you got it, BEA-U-TI-FUL!  I am now going to spam you with a bunch of pictures to prove it to you.

View More: http://wordenphotography.pass.us/finished-wedding-photos

View More: http://wordenphotography.pass.us/finished-wedding-photos

View More: http://wordenphotography.pass.us/finished-wedding-photos

View More: http://wordenphotography.pass.us/finished-wedding-photos

View More: http://wordenphotography.pass.us/finished-wedding-photos

View More: http://wordenphotography.pass.us/finished-wedding-photos

View More: http://wordenphotography.pass.us/finished-wedding-photos

See?  I told you.

View More: http://wordenphotography.pass.us/finished-wedding-photos

But, now on to the flower girl dresses!  I made them basically the same way that I made the trial version, except I stepped it up a notch with some of the finishes.  All of the fabric is from Joann Fabrics.  I started with the Blake dress by Mingo and Grace, but modified it quite a bit.  I created the sweetheart neckline on the top, used binding on the arm and neck holes, gathered and lengthened the skirt, and omitted the pockets.

View More: http://wordenphotography.pass.us/finished-wedding-photos

I also bought enough yardage of the lace so that I could make the front and back of the skirt as one piece with no side seam, which made it so I didn’t have to match up the scalloped bottom on the sides.  I did a blind hem on the faux-satin under layer and used an invisible zipper foot (game changer!) to install the zippers.

View More: http://wordenphotography.pass.us/finished-wedding-photos

Ella and her cousin Annalise were the cutest little flower girls…

View More: http://wordenphotography.pass.us/finished-wedding-photos

View More: http://wordenphotography.pass.us/finished-wedding-photos

View More: http://wordenphotography.pass.us/finished-wedding-photos

View More: http://wordenphotography.pass.us/finished-wedding-photos

View More: http://wordenphotography.pass.us/finished-wedding-photos

View More: http://wordenphotography.pass.us/finished-wedding-photos

View More: http://wordenphotography.pass.us/finished-wedding-photos

View More: http://wordenphotography.pass.us/finished-wedding-photos

Even if Ella looked slightly terrified to be walking down the aisle!

View More: http://wordenphotography.pass.us/finished-wedding-photos

View More: http://wordenphotography.pass.us/finished-wedding-photos

View More: http://wordenphotography.pass.us/finished-wedding-photos

View More: http://wordenphotography.pass.us/finished-wedding-photos

View More: http://wordenphotography.pass.us/finished-wedding-photos

But they made it!  And settled in next to Grandma to try and sit still for the ceremony.

See how innocent she looks here?  Yeah, this is just moments before she bopped her cousin on the head with her bouquet and had to be taken away…

View More: http://wordenphotography.pass.us/finished-wedding-photos

View More: http://wordenphotography.pass.us/finished-wedding-photos

I had planned to make Luke’s outfit too, but ran out of motivation to make a plain white shirt and gray pants that he would grow out of so quickly.  Therefore, his outfit is mostly courtesy of Old Navy.  The adorable bowtie and suspenders are from Bow Tie Fun on Etsy.

View More: http://wordenphotography.pass.us/finished-wedding-photos

View More: http://wordenphotography.pass.us/finished-wedding-photos

View More: http://wordenphotography.pass.us/finished-wedding-photos

We had such a fabulous time, and I felt honored to have contributed a small piece to what was a pretty amazing wedding.

View More: http://wordenphotography.pass.us/finished-wedding-photos

View More: http://wordenphotography.pass.us/finished-wedding-photos

Thanks for reading!

Zip Top Tote(s)

img_9537

As promised, here is the bridal shower gift I made for my cute sister in law!  I love love love this bag, guys.  This is the zip top tote from Anna Graham’s Handmade Style book.  I had had her book on my Amazon wishlist since before it was released, but then I was lucky enough to win a copy when she gave a few away!

img_9539

For my newlywed sister in law, this is the perfect size for a day trip or to use as a carry on.  I also made one for myself (I’ll get to that in a minute), and for me it’s my everyday bag because it fits all the stuff I need for the kiddos.  There are also two hidden outside pockets, perfect for throwing your keys and phone into when you head into a store.

img_9540

This was my first time using Soft and Stable on a project.  It’s what Anna recommended in the pattern, and I love how it makes the bag stand up on its own.

img_9544

For the shower gift, I made a coordinating pouch from my favorite pattern, which is also from Noodlehead as a free tutorial on her blog (check out the open wide pouch here!).  I love how wide it opens, so that you can easily find whatever you’re looking for.

img_9545

The stripe canvas fabric is from Hobby Lobby, and the rest are from Joann.  The metal zippers are from Zipit.  The leather is from a FabMo special selection event, so I’m pretty sure it cost me about $0.75.  Love that place.  🙂

img_9572

img_9570

img_8882

I always like to make myself a tester version before I make a gift for someone else, in case I need to make any adjustments.  For this pattern, the only change I made was to double up the leather on the straps and sew the edges together.  The straps on mine stretch a bit and feel a little thin, but the straps on her version are perfect.

img_8883

All of the fabric for my bag is from Joann (except the FabMo leather).

img_8887

Here’s a shot of one of the hidden pockets in action.

img_9543

I kind of love her simple stripe version more than mine… I think I might need to make myself another one.  😉

Thanks for reading!

Bridal Shower Brunch

Earlier this summer, my husband’s little sister got married to her high school sweetheart, and I was lucky enough to be her matron of honor!  Ugh, that sounds old… okay, moving past it… 🙂

That meant it was time for me to play hostess.  I don’t do it a lot, so I borrowed a bunch of things from my friends and spent a lot of time with my other good friend, Pinterest. 😉

img_9581

While people were arriving, there was time for people to write a memory, a blessing, or a word of advice for the bride-to-be.  I had asked for people to send me pictures ahead of time and had a bunch of flower and jewel stickers for them to use to decorate their pages.

img_9577

img_9582

For food we had quiche, mini pancakes, mini chicken apple sausages, and fruit.

img_9583

And cake, of course!

img_9576

For drinks we had coffee, water, and orange or mango mimosas…mmm…

img_9585

The champagne glasses were the party favor.  I got these glasses and dipped the bottom in chalkboard paint.  Guests could write their name on the bottom to keep from losing their glass.

img_9596

I kept the decorations fairly simple – the garland was cut from heavyweight paper.  I got this circle cutter and spent a few nights cutting circles while watching TV, and then just stitched them together with my sewing machine.  And you were worried there wouldn’t be any sewing in this post… 😉

The succulents were a pretty little addition to the tables (and only $6 each at Home Depot!), and they served as the prize for the game too.  Add some (borrowed) tablecloths and some balloons and you have a party!

img_9588

We had such a great time celebrating the beautiful bride-to-be!

img_9598

Stay tuned… the next post will be back to sewing, with the shower gift I made for her.  Here’s a hint… it’s a pattern from this sewing book! 😉

Thanks for reading!